skip to main |
skip to sidebar

2008 is coming to an end and before you know it, its going to be 2009. Time sure moves fast.
Before you know it, its going to be 2010..But... before that happens.
To my dearest friends. Thanks for being such great pals.
Cheers to another year of great friendship and even greater pictures.
Look closely..your pictures IS up on the tree. lol.Have a Blessed Christmas and a Happy New Year to all ya'll out there.Enjoy =)
Turn your shots around by using simple techniques in the digital darkroom (aka Photoshop)

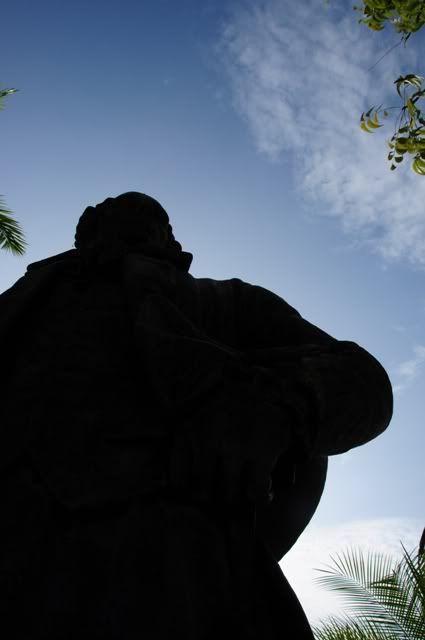
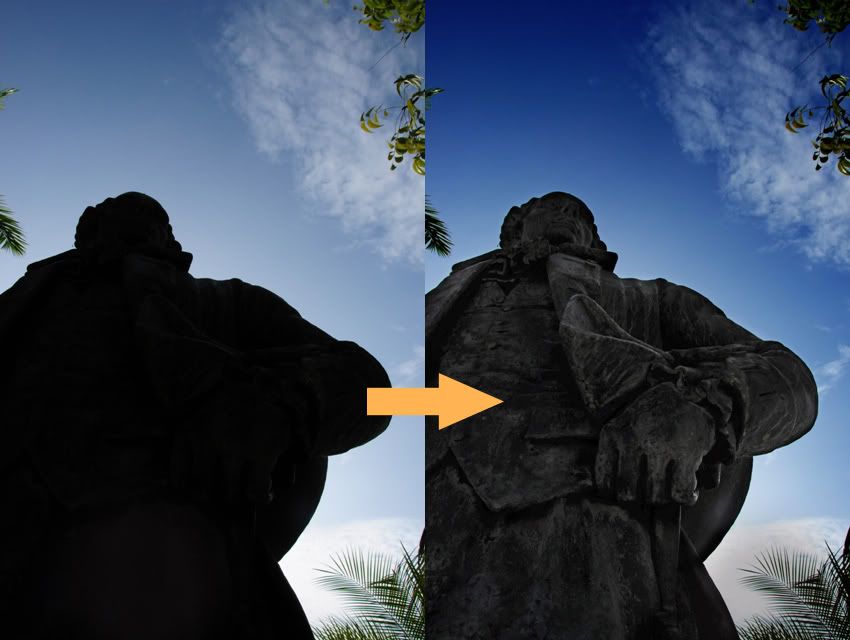
This is the shot (that we are going to use in this post) before post processing. Boring, plain, vanilla, you name it.
In this example, I want to light up uncle Francis Light.
*For some stupid reason the images gotten blurry after saving it with MS Paint. Fantastic software. So I will try to explain as detail as I can without getting too technical, and also I'm too lazy to recapture every screen again*
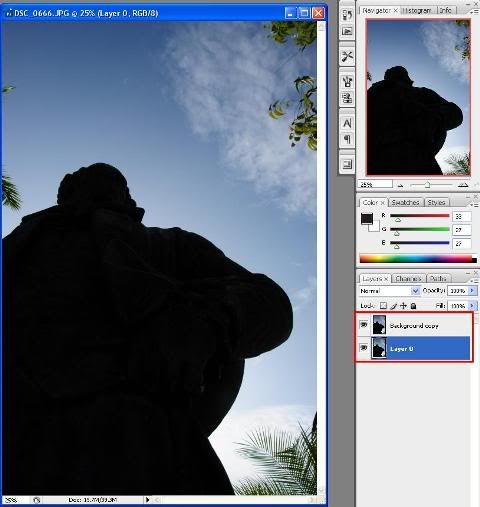
Load up your picture (duh) that you want to edit using your preferred editing software (i will be using Adobe Photoshop)
Step 1:

- Duplicate the base layer you have so you have 2 layers.
Step 2:

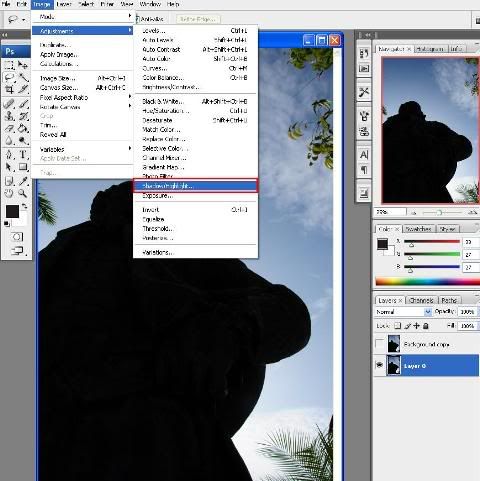
- I want to bring details to uncle Francis. So,
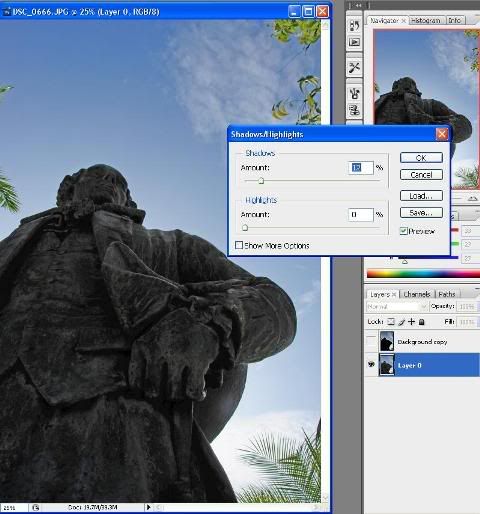
- Select the Base Layer and adjust the Shadow/Highlight (Image -> Adjustment -> Shadow/Highlight

- Adjust till you feel its bright enough.
Step 3:

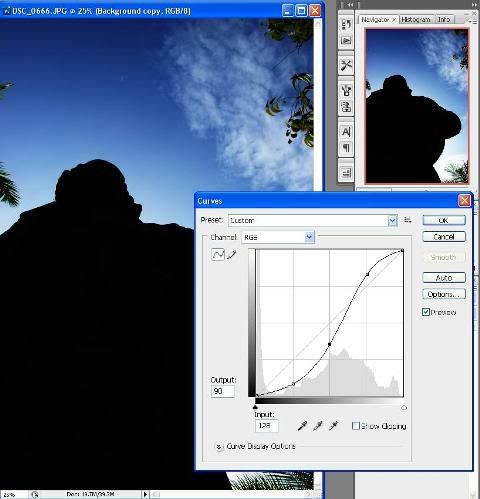
- I want to make the sky more dramatic.
- Select the 2nd Layer (which you have duplicated earlier), and adjust the curves (Image -> Adjustment -> Curves)

- Adjust till you feel its appealing to you.
Now that we have the base layer and the 2nd layer ready, I will want to have (the bright) uncle Francis stand in the nice-blue-sky as in layer 2.
Step 4:
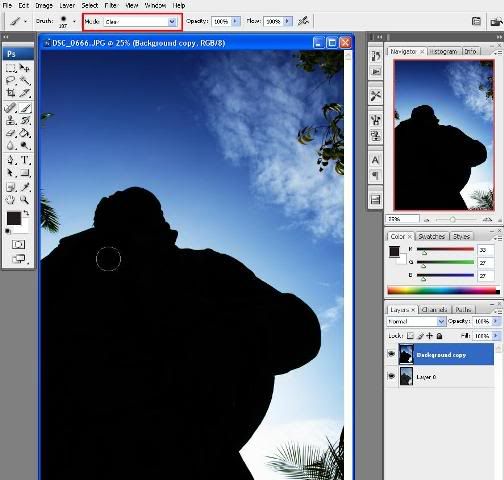
- To begin, select layer 2 (the one that I have adjusted the sky). Work on layer 2, do NOT touch layer 1.

- Select the brush tool (on the left toolbar) and set the Mode (on the top toolbar) to 'Clear'
Step 5:

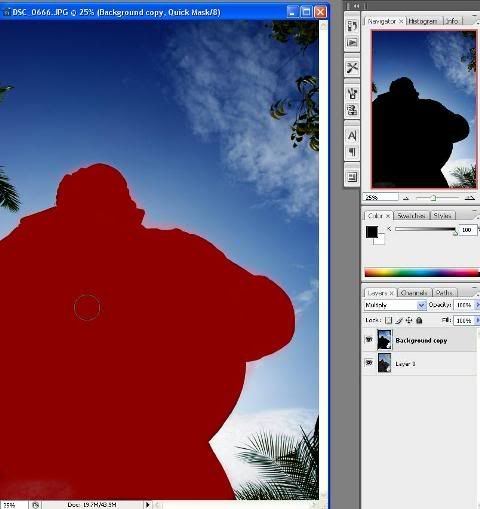
-Carefully trace the silhouette (or the object that you are having) of uncle Francis to expose the bottom layer
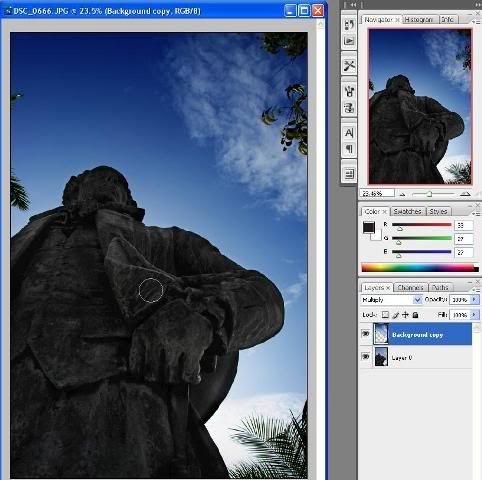
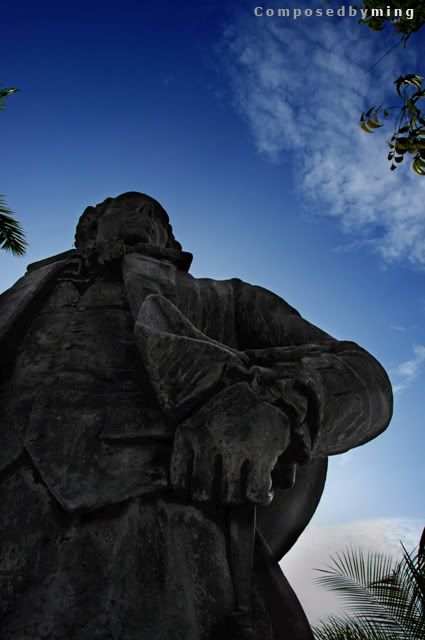
And you will end up with,

Taaaddaaaaaa
Done. in 5 simple steps, you have made uncle Francis Light stand in the light (so to speak)

Before and After
Enjoy =)


