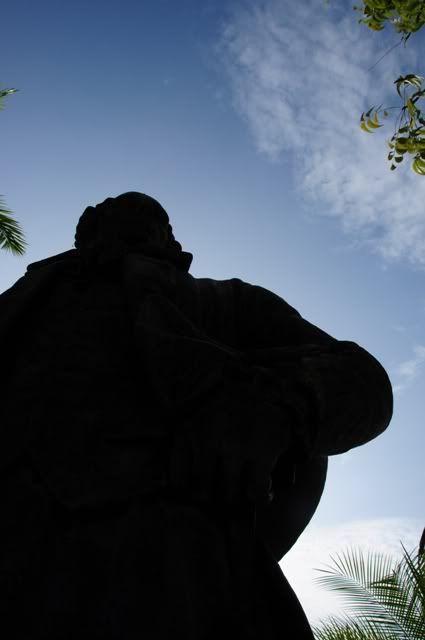
This is the shot (that we are going to use in this post) before post processing. Boring, plain, vanilla, you name it.
In this example, I want to light up uncle Francis Light.
*For some stupid reason the images gotten blurry after saving it with MS Paint. Fantastic software. So I will try to explain as detail as I can without getting too technical, and also I'm too lazy to recapture every screen again*
Load up your picture (duh) that you want to edit using your preferred editing software (i will be using Adobe Photoshop)
Step 1:
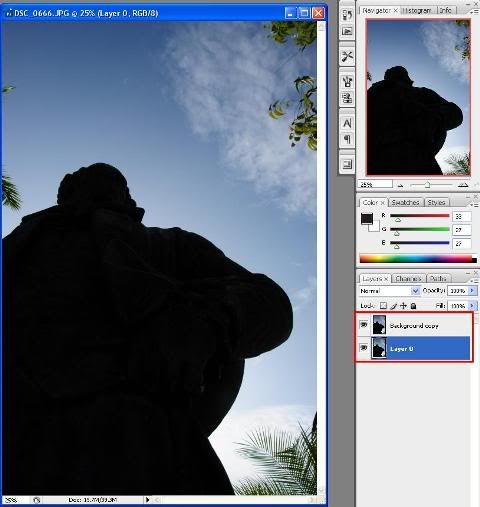
- Duplicate the base layer you have so you have 2 layers.
Step 2:
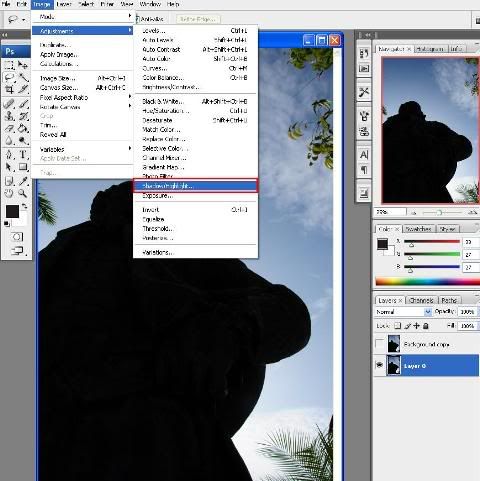
- I want to bring details to uncle Francis. So,
- Select the Base Layer and adjust the Shadow/Highlight (Image -> Adjustment -> Shadow/Highlight
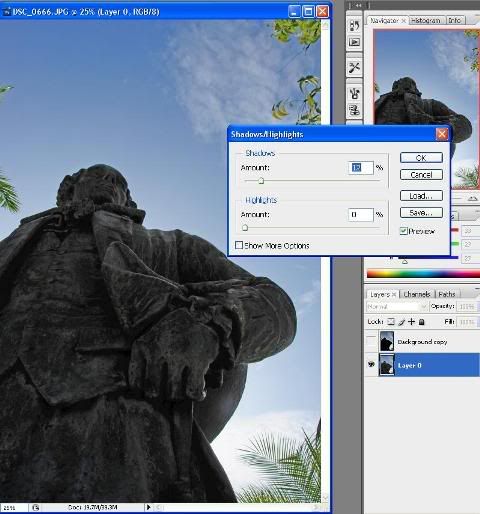
- Adjust till you feel its bright enough.
Step 3:
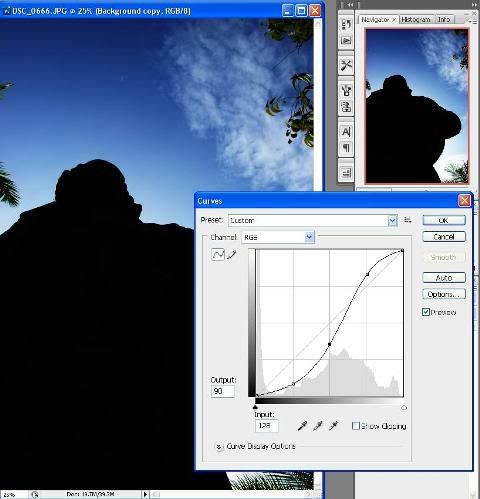
- I want to make the sky more dramatic.
- Select the 2nd Layer (which you have duplicated earlier), and adjust the curves (Image -> Adjustment -> Curves)
- Adjust till you feel its appealing to you.
Now that we have the base layer and the 2nd layer ready, I will want to have (the bright) uncle Francis stand in the nice-blue-sky as in layer 2.
Step 4:
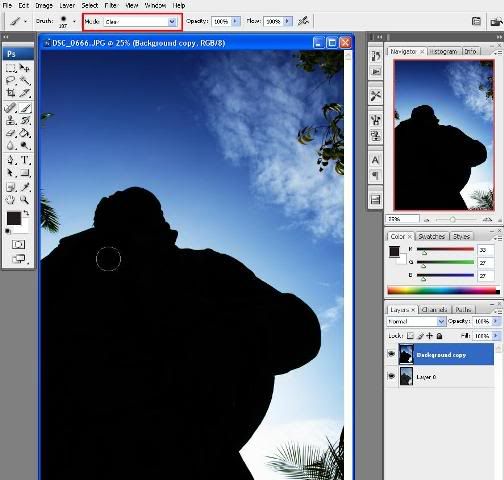
- To begin, select layer 2 (the one that I have adjusted the sky). Work on layer 2, do NOT touch layer 1.

- Select the brush tool (on the left toolbar) and set the Mode (on the top toolbar) to 'Clear'
Step 5:
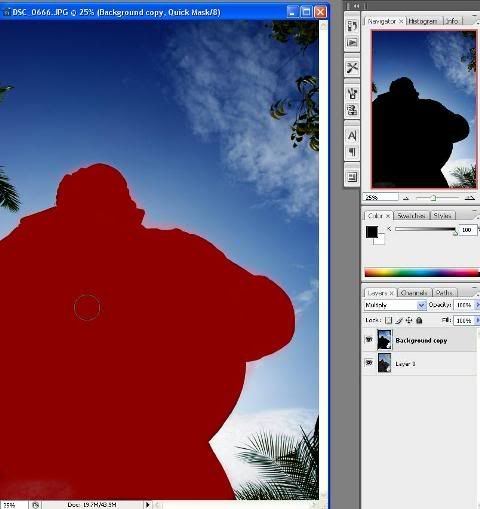
-Carefully trace the silhouette (or the object that you are having) of uncle Francis to expose the bottom layer
And you will end up with,
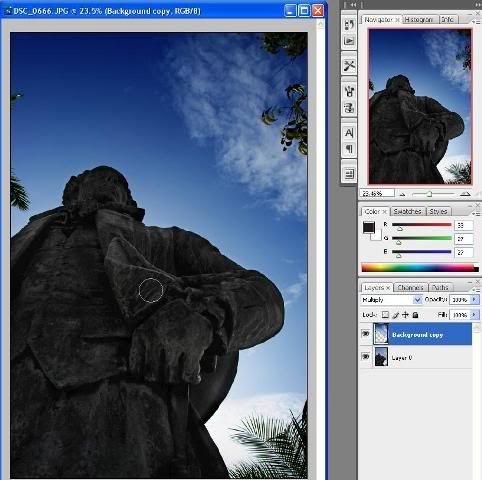
Taaaddaaaaaa
Done. in 5 simple steps, you have made uncle Francis Light stand in the light (so to speak)
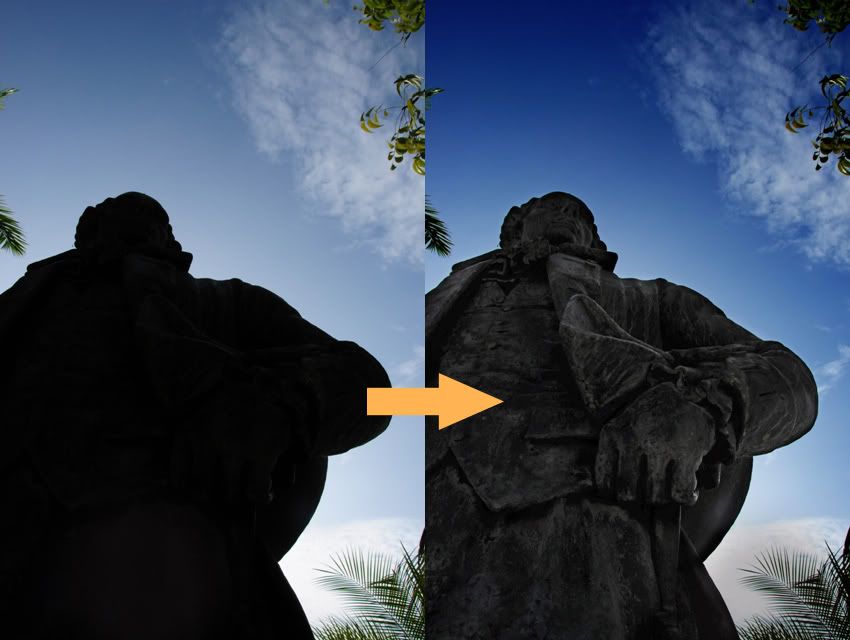
Before and After
Enjoy =)


No comments:
Post a Comment